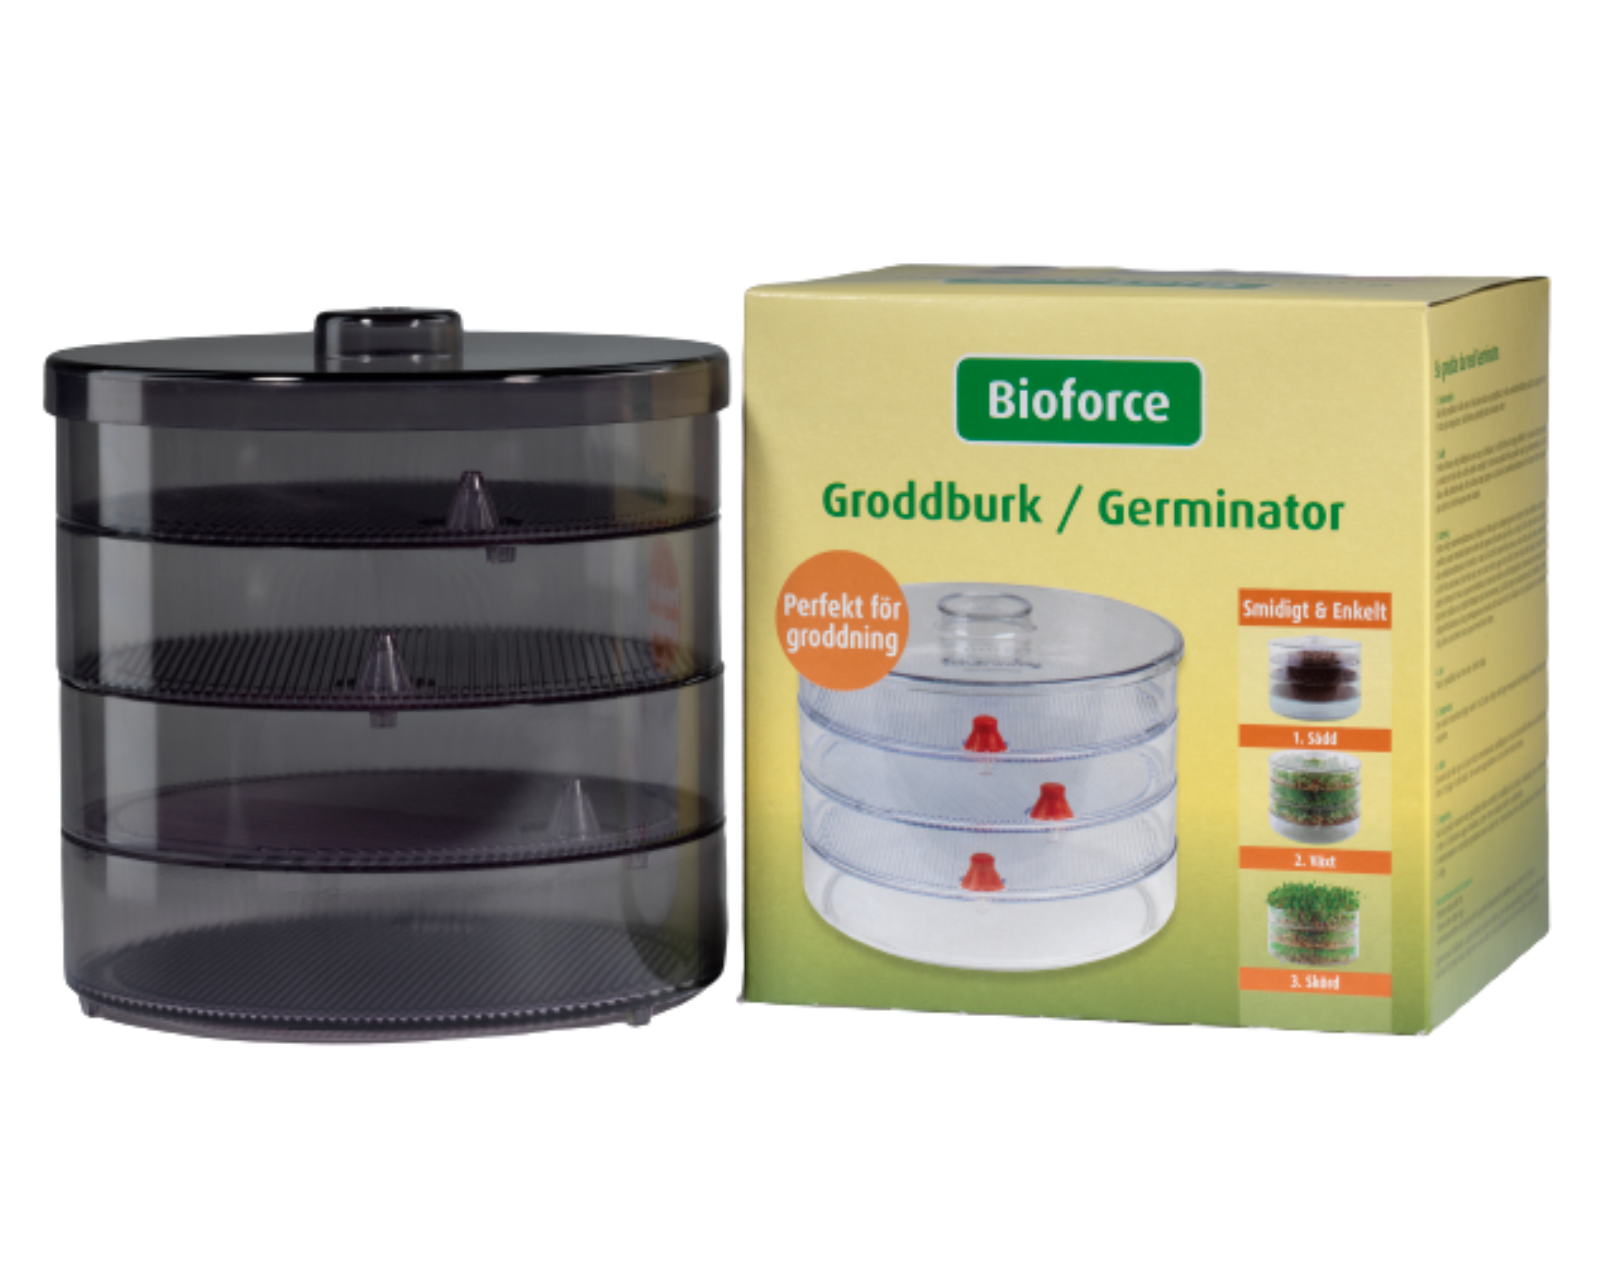
Sprouting container, BIOFORCE GERMINATOR
A three-layer sprouting box where you can grow three different varieties of seeds at the same time and enjoy different fresh sprouts!
Features:
Made of environmentally friendly acrylic glass for food storage
Free of cadmium, formaldehyde and bisphenol A.
Guaranteed optimal light distribution and air circulation
Ensures ideal germination conditions
Three different types of seedlings can germinate at the same time
Resistant to scratches, shocks and UV rays. Package includes:
1 lid
3 sprouting bases
1 water collection container
1 instruction manual
How to sprout:
1. Preparation
Wash the BioSnacky in cold water. Do not dry the inside of the box. The red vent caps must fit snugly, but not too tightly, around the outlet tube. Rinse the seeds thoroughly under running water.
2. Sowing
When sowing very small seeds, place a sheet of damp seed paper on the shelf. Distribute the seeds according to the recommendations on the seed bag. If the seeds are larger, no seed paper is needed. Make sure the seeds are not too close together. You can germinate seeds on one shelf or on several shelves at the same time. We recommend that you grow the seeds at intervals to ensure that you can pick fresh sprouts every day. After sowing, the layers are stacked so that the red vent caps are slightly offset from each other instead of directly on top of each other.
3. Watering
Water according to the recommendations on the seed packet. Water the entire container with the valve cover open, either by running lukewarm water under the container or by watering each shelf separately. Keep pouring water into the upper pan until the red vent caps are completely covered, at least 5 dl, and the water starts to run. All floors are now watered automatically. Rinse the seedlings that have not yet germinated well, but as soon as they start to germinate, make sure that the bottom shelf is moist.
Excess water will escape through the vents in the bottom shelf and down into the saucer below. The water level can be lowered by tilting the entire container, which also prevents flooding. Make sure there is no excess water in the container. Depending on the growing conditions, the ripening process may be different from the one written on the seed packet. For mature seedlings with a clear, shiny surface, just spray with fresh water.
4. Light
Place the planting box in a bright place, but not in direct sunlight. 5. Temperature
The ideal temperature is 18-22 degrees.
Higher or lower temperatures can increase or decrease the germination time.
6. Harvesting
Depending on the type of seed sown, room temperature, light and the specific needs of each seed, you can harvest seedlings within 3-8 days. To harvest, gently pull the seedlings out to avoid damaging the roots or cut them off the seed paper.
7. Cleaning
After harvesting all the seedlings, the seedling box should be thoroughly washed. The seedling box is dishwasher safe, but we recommend that you place it on top of the dishwasher, as the bottom of the dishwasher releases more heat.
We recommend washing the sprouts before eating them. If you do not intend to eat the sprouts immediately, they can be stored in the fridge for 2-3 days.
Seeds do not germinate:
– Seeds are placed too tightly
– Seeds are not well watered
– Room temperature is too high or too low (the optimum temperature for germination is 18-22 degrees)
– Seeds other than BioSnacky’s specially developed seeds are used
– Unfavourable conditions, such as too much water around the seeds, over- or underwatering, inappropriate temperature or light, can lead to the development of mould. Mould has a musty smell and should not be confused with thin roots.
Size: height 15,5 cm, diameter 20 cm.
The colour of the propagation vessel may be different from the picture.


